AI Image to 3D Model Generator
Turn a concept image, product view, character design, or photo into a 3D asset you can rotate and inspect. The image to 3D model workflow uses one visual reference to infer shape and materials, lets you choose generation mode and quality controls, and returns a textured GLB for preview and download on the same page.
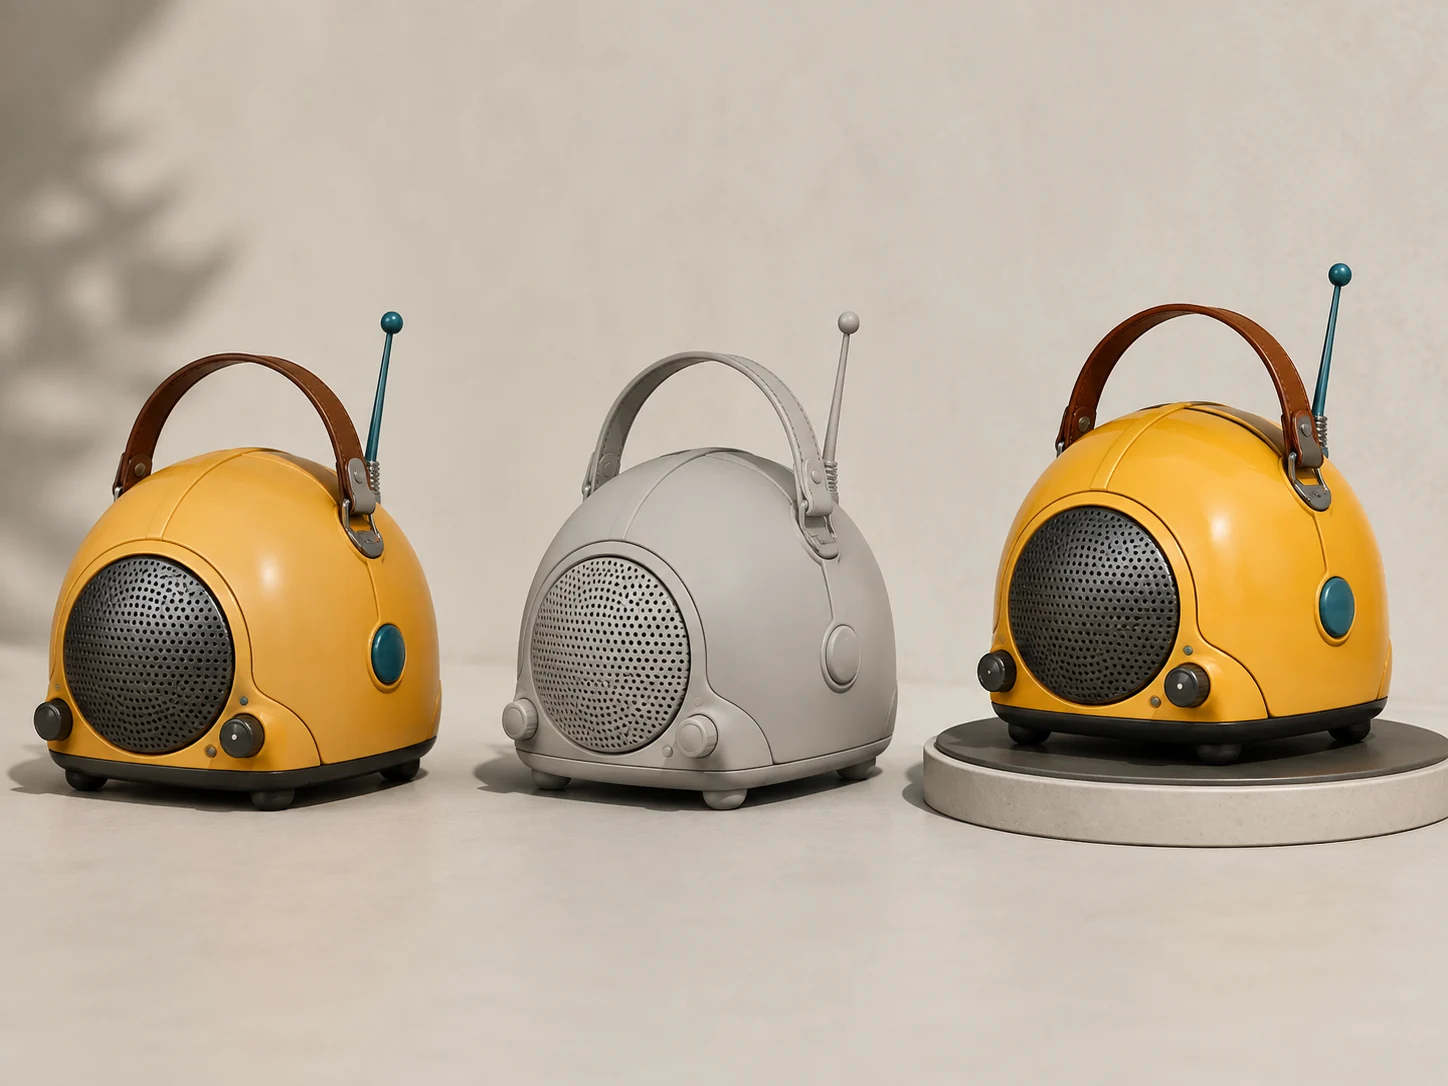
- Input
- 1 imageJPEG, PNG, or WebP up to 20 MB
- Modes
- General / PortraitChoose according to the subject, not the visual style
- Output
- GLBPreview the static model and download the result
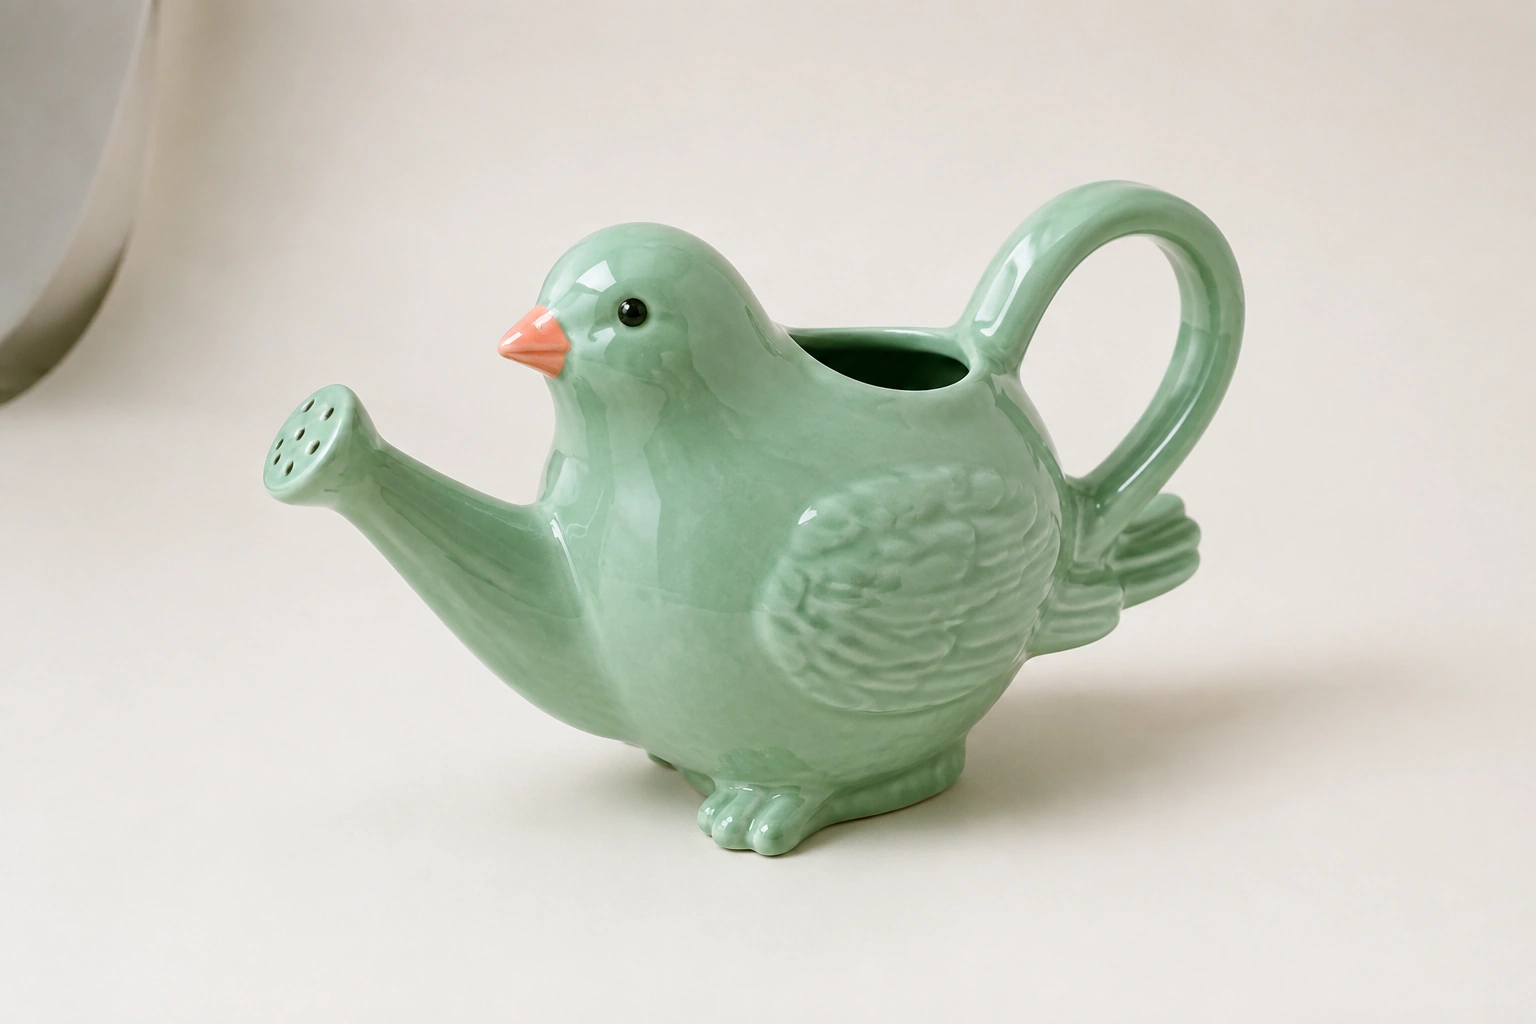
Choose an image that explains the object
A photo to 3D model conversion begins with visible evidence. The system can infer hidden areas, but it cannot recover details the source never shows. A complete silhouette, readable depth, and clean separation give the model stronger constraints.
Show the complete subject
Keep the top, base, limbs, handles, and other defining parts inside the frame so the overall proportions are available.
Keep the silhouette readable
Use contrast between subject and background and avoid heavy overlap from props, hands, foreground objects, or other characters.
Use an angle with depth clues
A three-quarter view often reveals width, front, and side relationships more clearly than a perfectly flat or extreme perspective view.
How to turn an image into a 3D model
The full image to 3D process stays in one workspace. Each step narrows a different uncertainty: what the object looks like, which subject model fits it, how much detail is useful, and whether the generated asset is ready to download.
- 01
Upload one clear image
Choose a JPEG, PNG, or WebP up to 20 MB. Use a complete, well-separated subject whose viewpoint explains its main volume.
- 02
Select general or portrait mode
Use general mode for objects, props, creatures, and varied subjects. Use portrait mode for a clearly visible full-body human character.
- 03
Balance geometry and material settings
Choose texture and geometry quality, face limit, PBR, low-poly behavior, alignment, orientation, and optional source-image autofix according to the intended use.
- 04
Inspect the result and download GLB
Rotate and zoom the model, compare original, clay, and metal views, check inferred areas, and download the GLB when the task completes.
Match the generation mode to the subject
Mode selection tells the AI image to 3D model generator what kind of structure to prioritize. It is not a style filter, and portrait mode is not automatically better for every character-shaped object.
General mode
Use the broad model for standalone objects and subjects that are not specifically a full-body human portrait.
- Products, furniture, vehicles, props, and devices
- Animals, creatures, stylized figures, and collectibles
- Concept art with one isolated main subject
Portrait mode
Use the specialized mode when the source clearly shows a standing or posed full-body human character and body structure is the central problem.
- Single full-body human subjects
- Character concepts with visible arms, legs, and clothing silhouette
- Sources with limited occlusion and a readable pose
Use controls to manage three different decisions
The strongest settings depend on the source and destination. Organize the choices into source interpretation, surface appearance, and geometric complexity so that a higher number does not become the default answer to every problem.
Source interpretation
Decide how the uploaded view should guide orientation and texture placement.
- Image autofix
- Allow preprocessing to improve a source that needs basic cleanup before conversion.
- Orientation
- Use the default spatial interpretation or align the model more directly to the image viewpoint.
- Texture alignment
- Prioritize visual alignment with the original image or let the generated geometry guide texture placement.
Surface and materials
Choose how much texture information the result carries and how materials respond in compatible viewers.
- Texture quality
- Select standard, detailed, or extreme 8K texture generation according to viewing distance and surface complexity.
- PBR materials
- Enable physically based material properties when surface response matters, or choose an untextured result for later work.
Geometry and complexity
Balance silhouette detail, polygon budget, file complexity, and real-time use.
- Geometry quality
- Choose standard or ultra geometry according to structural detail and how closely the model will be inspected.
- Face limit
- Use auto, 20K, 80K, or 150K to set a clear polygon budget rather than assuming the largest mesh is always appropriate.
- Smart low poly
- Reduce complexity for simpler real-time assets, while checking that important edges and small structures survive.
What the image-to-3D result contains
A completed task gives you an interactive model instead of only a rendered turntable. Use the browser viewer to examine the result from angles that were not visible in the source before deciding whether it is suitable for the next workflow.
Rotatable 3D preview
Orbit, zoom, reset the camera, and inspect the generated silhouette from multiple directions.
Downloadable GLB
Download the static 3D model as a single GLB file for compatible viewers and downstream tools.
Material inspection
Switch between original, clay, and metal views to separate texture appearance from geometry and highlights.
Private task record
Review the source, generation settings, task status, file information, and result in the current account's history.
No suitable source image yet? Choose a better starting point
An image to 3D model needs a visual reference, but that reference does not have to exist before you arrive. Choose the entry that matches how fixed the idea already is.
Create a reference image first
Use text to image when the subject is clear in your mind but has not been drawn or photographed. Establish a clean silhouette and three-quarter view, then bring the result back here.
Open the AI image generatorStart directly from a written concept
Use text to 3D when visual identity is still open and you would rather describe the complete object than lock the model to one picture.
Open text to 3DAbout converting images to 3D models
What to know about source files, subject choice, modes, hidden surfaces, quality controls, GLB output, and current workflow boundaries.
How does image to 3D model generation work?
The system analyzes a single reference image, estimates the subject's three-dimensional structure, creates geometry and materials, and returns a model for browser preview. Areas not visible in the source are inferred rather than recovered from measured data.
Which image formats can I upload?
You can upload one JPEG, PNG, or WebP image up to 20 MB. A complete subject with clear contrast, limited occlusion, and visible depth cues is a stronger input than a busy or heavily cropped scene.
Can I turn a photo into a 3D model?
Yes. A photo to 3D model workflow can use a product, object, animal, prop, or character photo as its source. Illustrations and renders can also work when the subject and silhouette are clearly defined.
What is the difference between general and portrait mode?
General mode covers varied objects, creatures, products, props, and stylized figures. Portrait mode is specialized for a clearly visible full-body human subject. It does not provide facial identity preservation, rigging, or animation.
Which camera angle works best?
A three-quarter view often provides useful front, side, and depth relationships in one picture. Avoid extreme perspective, severe cropping, and angles where important parts overlap or disappear behind the subject.
Can one image reproduce the hidden side exactly?
No. A single view does not contain exact information about the back, underside, interior, or blocked surfaces. The generator creates plausible geometry for those areas, so you should inspect them in the viewer before downloading.
How do texture quality, geometry quality, and face limit differ?
Texture quality controls surface-map detail, geometry quality affects silhouette and structural detail, and face limit sets the polygon budget. Select them for viewing distance, subject complexity, and downstream performance rather than always choosing the highest setting.
What file can I download?
A completed task provides a GLB model. You can inspect the model and material views in the browser, review its task information, and download the GLB for use in compatible software.
Does the generated model include rigging or animation?
No. The current image to 3D result is a static mesh and does not include bones, skinning, animation, digital-human identity preservation, automatic part segmentation, or guaranteed production readiness.
What should I try when the 3D result is inaccurate?
Use a source with a cleaner background, a complete silhouette, less occlusion, and a more informative angle. Confirm the mode fits the subject, then adjust orientation, texture alignment, geometry quality, face limit, and low-poly settings one decision at a time.
Start with the clearest view of your subject
Upload one complete image, match the mode and quality to the subject, then inspect the inferred geometry from every side. Download the GLB when the result is ready.