AI Text to 3D Model Generator
Generate a 3D model from text without preparing a concept image. Describe one subject, its complete shape, key materials, and visual language. The AI workflow builds geometry and materials, then lets you inspect the result on the same page and download it as GLB.
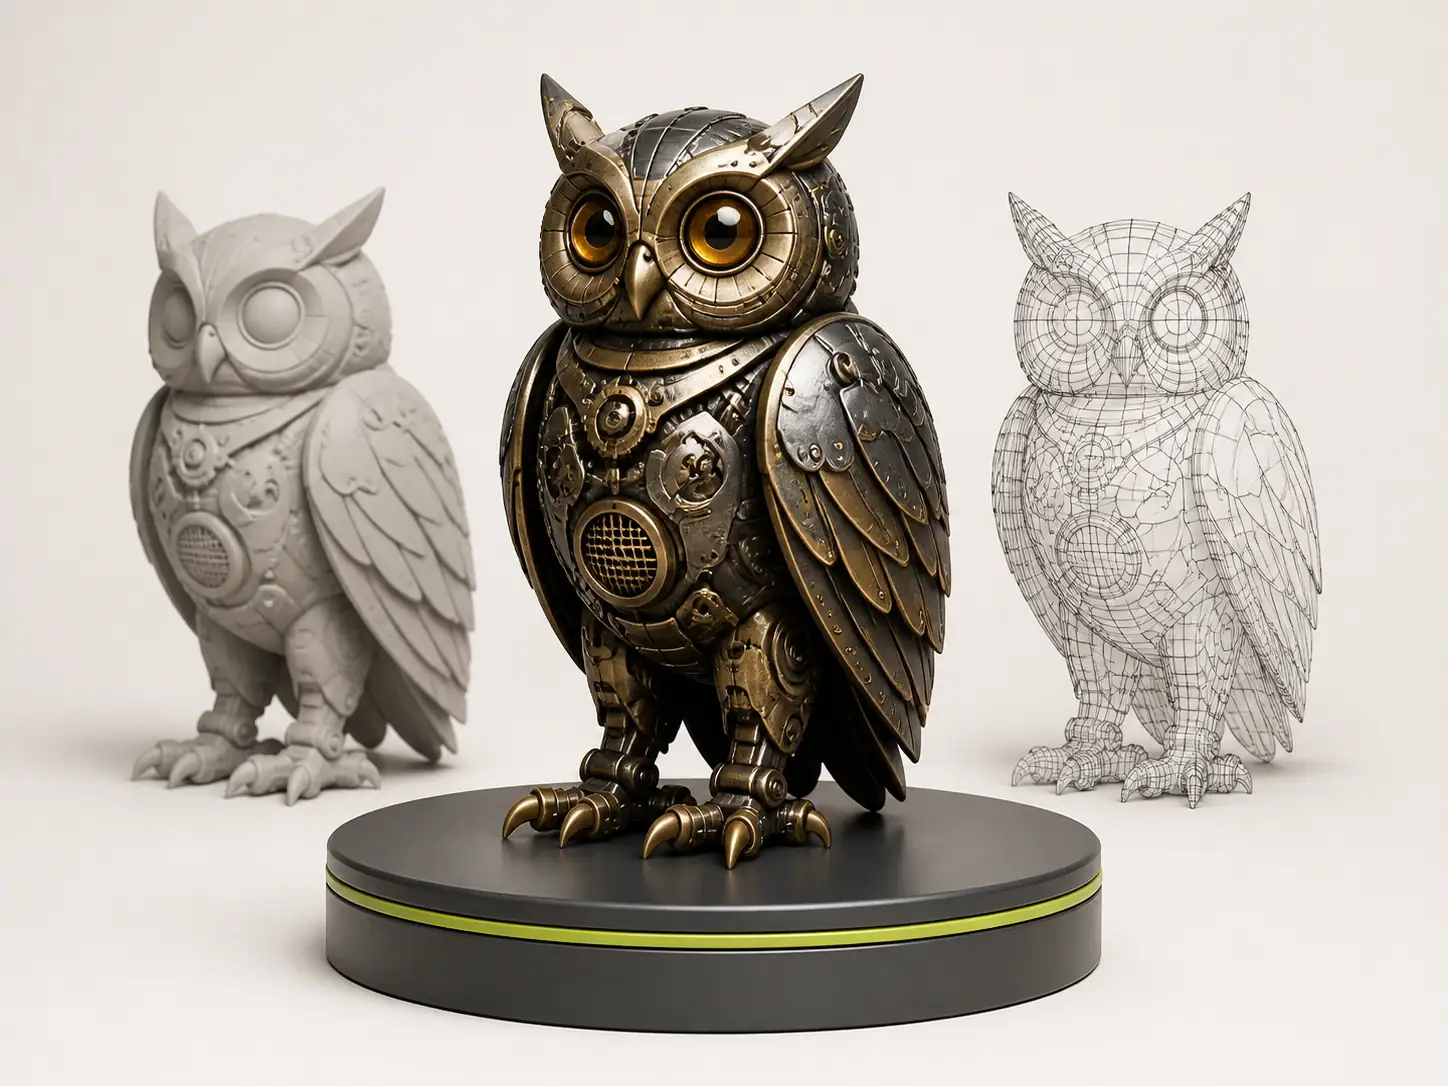
Describe the form, proportions, surfaces, and style in a sentence or short paragraph. No modeling file is required.
Choose texture quality, geometry quality, face limit, PBR materials, and smart low-poly mode separately.
Rotate, zoom, and inspect the generated model with multiple material views before downloading the result.
How to generate a 3D model from text
The workflow stays on one page: define the subject, choose an appropriate level of complexity, generate the model, and inspect the actual result. Every step has a clear input or output, so there is no need to move between separate tools.
- 01
Describe one clear subject
State what the object is, how its overall silhouette should look, and which structural features must remain. One focused subject is easier to resolve as a complete model.
- 02
Add materials and style
Name important surfaces such as metal, wood, ceramic, or fabric, then add a direction such as realistic, stylized, low poly, or collectible.
- 03
Choose quality and face count
Adjust texture, geometry, PBR materials, and face limit for rapid prototyping, web presentation, or a more detailed asset.
- 04
Inspect and download
Rotate, zoom, reset the view, and switch viewing materials in the built-in viewer. Download the GLB after checking the result.
Generate for a purpose, not just for appearance
The same idea can have different delivery goals. A lighter model is easier to place in a real-time scene, while a detailed model is better for close inspection. Separate controls make the tradeoff between speed, detail, and file complexity explicit.
- Standard / Detailed / Extreme 8KTexture quality
- Controls the level of detail in material maps. Increase it for close surface inspection or use standard quality for rapid form exploration.
- Standard / UltraGeometry quality
- Controls silhouette and structural detail. Complex accessories, folds, and hard-surface features usually benefit from higher geometry quality.
- Auto / 20K / 80K / 150KFace limit
- Set a clear polygon budget and balance lightweight presentation against a more detailed asset.
- PBR / No textureMaterial mode
- Choose PBR surfaces for material response or an untextured result when you plan to handle materials later.
- On / OffSmart low poly
- Reduce geometric complexity for simpler subjects. Detailed forms can lose information, so use it with the subject's silhouette in mind.
- Up to 255 charactersNegative prompt
- List unwanted deformation, extra parts, blurred surfaces, or other defects to make the target more explicit.
One prompt can start several kinds of 3D work
An AI 3D model generator from text is most useful when you know what you want to make but do not have a fixed reference image yet. It helps validate silhouette and direction before the result moves into the next workflow.
Game and real-time prototypes
Create an initial prop, character, or environment object for blockouts and visual direction checks.
Product and form concepts
Turn a written idea for packaging, toys, furniture, or hard-surface devices into a rotatable spatial draft.
Collectible figure directions
Explore character proportions, costume silhouette, base design, and material treatment before deeper refinement.
Visual pitches and storyboards
Use a 3D result for multi-angle presentation, scene planning, and clearer creative communication when finished art is unavailable.
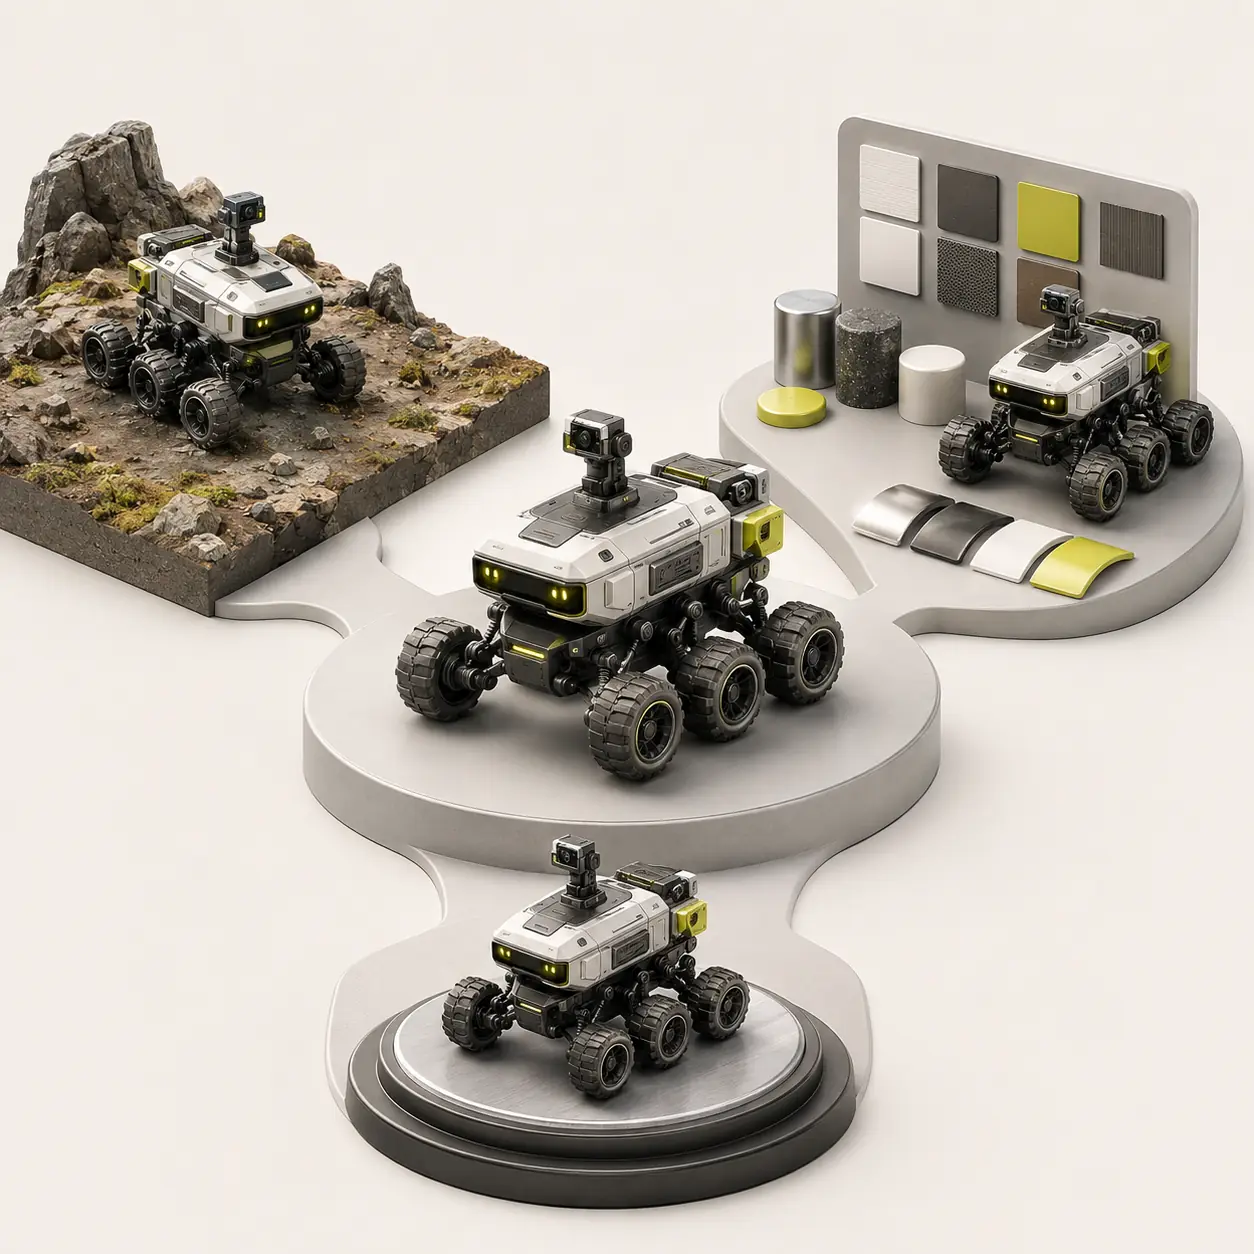
Resolve the form first, then add style
A text-to-3D prompt must describe a complete object, not only a beautiful camera angle. Prioritize the unseen back, base, connections, and symmetrical structures before adding surface treatment and art direction.
- 1Subject
- Name the one subject first, such as a mechanical owl, hiking backpack, or vintage desk lamp.
- 2Complete form
- Describe proportions, pose, base, limbs, handles, and other structures that define the silhouette.
- 3Key materials
- Name the main metal, glass, ceramic, wood, or fabric surfaces and describe age or gloss where useful.
- 4Visual language
- Add a clear direction such as realistic, industrial design, stylized collectible, low poly, or miniature.
- 5Identity details
- Finish with the few features that make the object recognizable instead of overwhelming the structure with minor decoration.
When should you use text to 3D or image to 3D?
The two inputs solve different stages of the process. The simplest question is whether you already have a visual reference the model must follow.
Text to 3D
Use it to explore form from scratch when you have an idea and a purpose but no fixed front view or character sheet.
- Build a first model directly from natural language
- Explore different silhouettes, materials, and styles quickly
- Best suited to early concepts and direction finding
Image to 3D
Use it when a reference image already exists and the generated subject should follow that visual direction.
- Start from a JPG, PNG, or WEBP image
- Choose general subject or full-body portrait mode
- Useful for projects with an existing concept or visual plan
What do you get from a text to 3D model?
The result is more than a static thumbnail. A completed task appears in the asset list with the model file, generation settings, and an interactive preview.
- Interactive 3D preview
Orbit, zoom, reset the view, and inspect the main silhouette and surfaces before downloading.
- GLB model file
Download a single GLB result for viewing, organization, or another compatible workflow.
- Material inspection modes
Switch between original, clay, and metal views to examine textures, form, and highlights separately.
- Private task history
Each task remains in the current account's history for result comparison and generation-setting review.
About AI text to 3D models
What to know about inputs, quality, files, and current workflow boundaries before generating.
What is a text to 3D model?
Text to 3D is a workflow that creates three-dimensional geometry and materials from a natural-language description. You provide the subject, form, materials, and style, and the system creates a model you can inspect in the browser and download.
Do I need to upload a reference image?
No. Text to 3D can create a model from the prompt alone. If a result must follow an existing character or product reference, image to 3D is the more appropriate input.
How long should a text-to-3D prompt be?
Length alone does not determine quality. A clear paragraph with the subject, complete shape, key materials, visual direction, and essential identity details is usually more useful than a long list of conflicting adjectives. The current prompt limit is 1,000 characters.
What kinds of 3D objects can I generate?
You can try individual props, collectible characters, product concepts, furniture, devices, and standalone environment objects. A single subject with a clear silhouette and explicit part relationships is best suited to this workflow.
What is the difference between texture quality, geometry quality, and face count?
Texture quality affects material-map detail, geometry quality affects silhouette and structural precision, and the face limit controls polygon complexity. Choose them according to whether the result is for quick review, a real-time scene, or detailed presentation.
What do PBR materials do?
PBR materials describe more consistent surface response so metal, roughness, and other material properties are easier to read in compatible viewers. You can also choose an untextured result for later material work.
Can I download the generated 3D model?
Yes. When the task completes, inspect the model in the viewer and download the GLB file. The page also keeps the task status, file information, and generation settings.
Does text to 3D include rigging or animation?
No. The current workflow creates a static 3D model and does not provide identity preservation, digital humans, automatic rigging, or character animation. Use a dedicated rigging and animation workflow after download when those steps are required.
What should I do if generation fails?
Narrow the prompt to one subject and remove conflicting structural descriptions. Then reduce unnecessary detail or adjust geometry quality, face limit, and smart low-poly mode before creating a new task.
Are generated results public?
Tasks and models in the current workspace are private to the current account by default. The model information panel displays the visibility status.
Start with one clear description
Define the subject and complete silhouette, then choose quality for the intended use. Inspect the finished result in the browser and download the GLB.